In this article, we will find out how to configure Jolokia on a Spring Boot 2 server. We will also configure Jolokia on a different management port and a different base URL.
Jolokia is a JMX over HTTP bridge that allows system administrators to access their MBeans and JMX functionalities over HTTP and JSON. Getting started with Jolokia in a Spring boot environment is a 5 minute job (if you know what you are looking for 😉 ). So let us get started!
Adding the required dependencies
The first step is to make sure that your project has the required dependencies. For this, we will add three dependencies to our POM file.
First is the Spring boot actuators dependency. This will cause the actuators autoconfiguration to kick-in and enable management endpoints on the server. The second dependency is the Jolokia core. This adds the required Jolokia libraries.
The Spring boot actuator auto-configuration can then pick up the Jolokia libraries to be added as an additional management endpoint to the server. The third dependency is the starter web dependency. This pulls in all the web auto-configurations needed to expose the actuators as web management http endpoints.
		<dependency>
			<groupId>org.springframework.boot</groupId>
			<artifactId>spring-boot-starter-actuator</artifactId>
		</dependency>

		<dependency>
			<groupId>org.jolokia</groupId>
			<artifactId>jolokia-core</artifactId>
		</dependency>

		<dependency>
			<groupId>org.springframework.boot</groupId>
			<artifactId>spring-boot-starter-web</artifactId>
		</dependency>
Exposing the Jolokia endpoint
The second step is to tell the Spring boot auto-configuration to expose Jolokia as an actuator endpoint. This can be done simply by adding Jolokia to the list of exposed endpoints in the application.properties file.
management.endpoints.web.exposure.include=*,jolokia
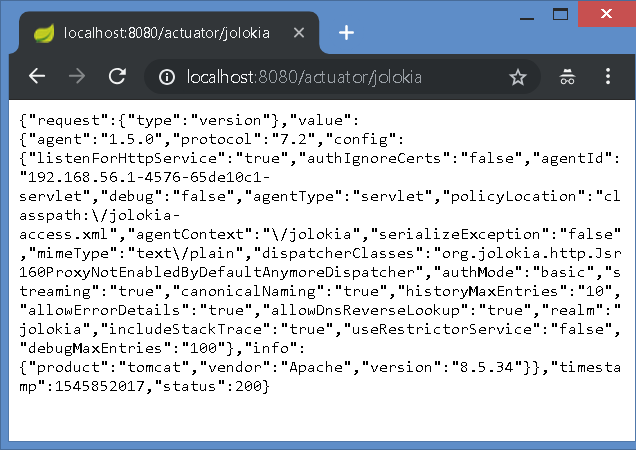
If your goal is to expose Jolokia only, then remove the * from the exposure.include property. On a vanilla Spring boot server, the Jolokia interface can be accessed on port 8080. For example, this can be http://localhost:8080/actuator/jolokia . If you get a response like the one in the screenshot below, then Jolokia has been started correctly.
Click to enlarge.
Configuring the Jolokia management port
By default, the Spring boot actuators will be configured on port 8080. However, this may not be the ideal port for many production configurations. In this case, the actuator port can be customized in the properties file as follows:
management.server.port=8912
The Jolokia (and any other actuator) endpoint will now be accessible on port 8912. The new path to the Jolokia actuator endpoint will be http://localhost:8912/actuator/jolokia .
Configuring the Jolokia management path
By default, Jolokia and every other endpoint are available under the /actuator path. This can be changed (for all endpoints) by setting the web base-path property. If you do not like the name “Jolokia”, then this can also be changed by modifying the mapping property. Let us take the following properties as an example:
management.endpoints.web.base-path=/endpoints
management.endpoints.web.path-mapping.jolokia=customjmx
With this configuration, the Jolokia interface will be accessible with the link http://server:port/endpoints/customjmx
Note that all other endpoints will have their base path changed. For example, the health actuator will also be accessible as follows: http://server:port/endpoints/health
Further info
Jolokia is a very powerful library that gives you a lot of application management functionality out of the box and with little configuration. If you would like to learn more about Jolokia, then I suggest that you check our next post “How to configure and access MBeans in Spring boot and Jolokia”.
If you like this content, then please support us by clicking that twitter follow button at the bottom of the page in order to be notified of our latest updates 😉